Recuerdo del primer mensaje :Forzar los gráficos de Spore a estándares modernos.
Aviso.
Esta guía provee instrucciones para maximizar los gráficos de tu Spore siguiendo unos pocos simples pasos consecutivos.
Esta información no es absolutamente nueva, pero hasta ahora no había una guía comprensiva de todo en uno.
El mod usado en esta guía fue desarrollado por el brillante mod-maker Rob55Rod y modificado luego por Bahzu, así que todos los agradecimientos y créditos deben ir a ellos. Los agradecimientos y créditos también deben ir a Clicker95 cuyos descubrimientos iniciales han llegado a estos resultados.
Básicamente en uno pocos pasos vas a forzar al juego a usar las mejores texturas con los mejores shaders/bump-maps/reflejos/filtros de texturas y antialiasing. Nunca antes se vio mejor. Y es bastante estable.
Las capturas de pantallas no fueron redimensionadas, por lo que son los píxeles reales, escenas in-game.
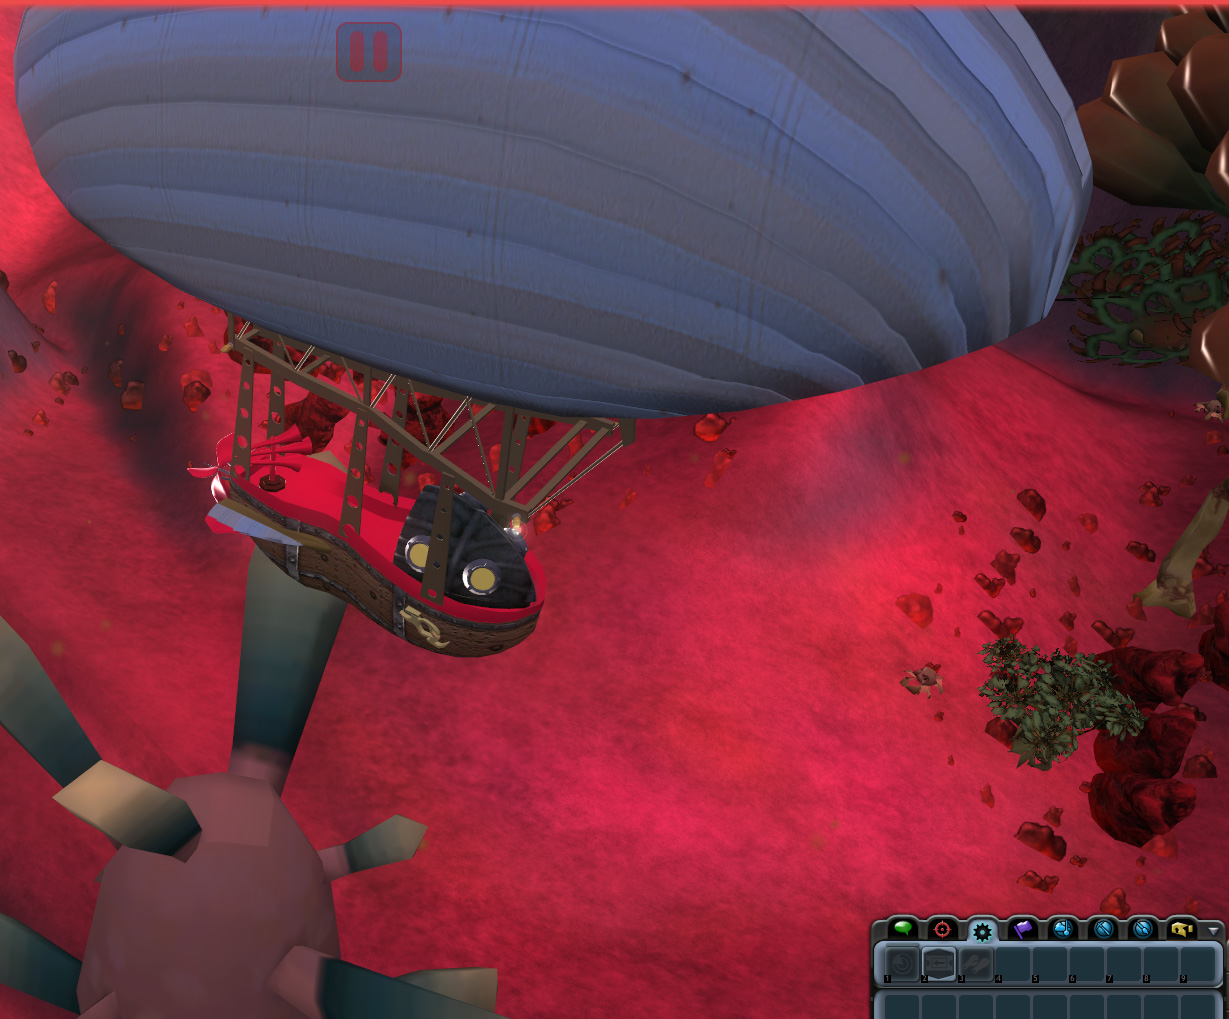
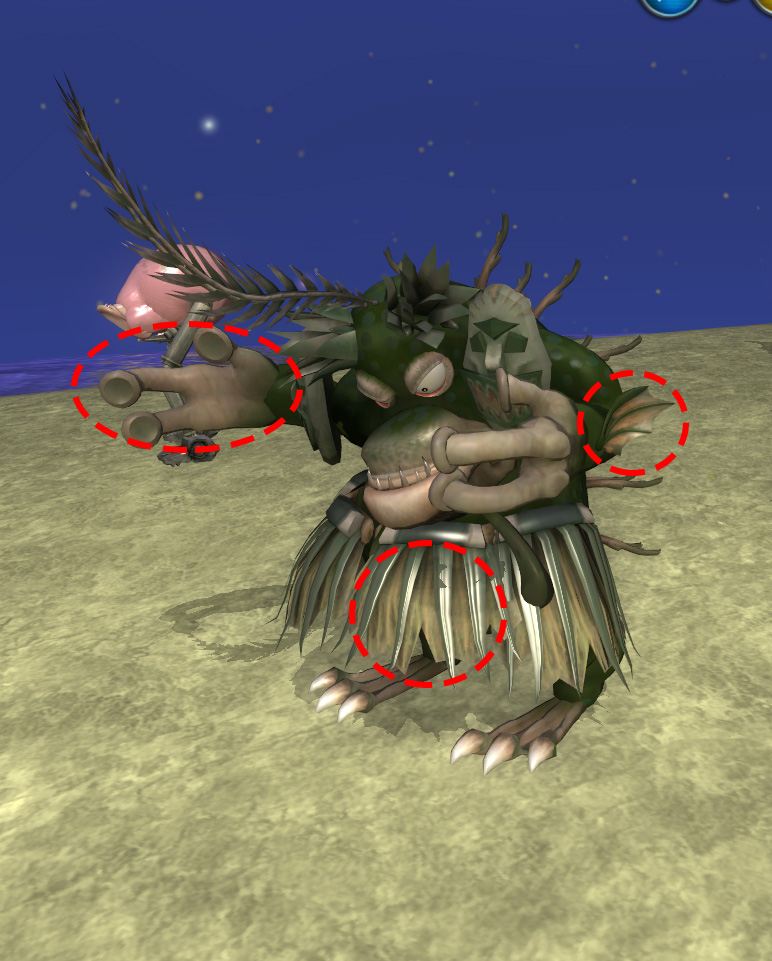
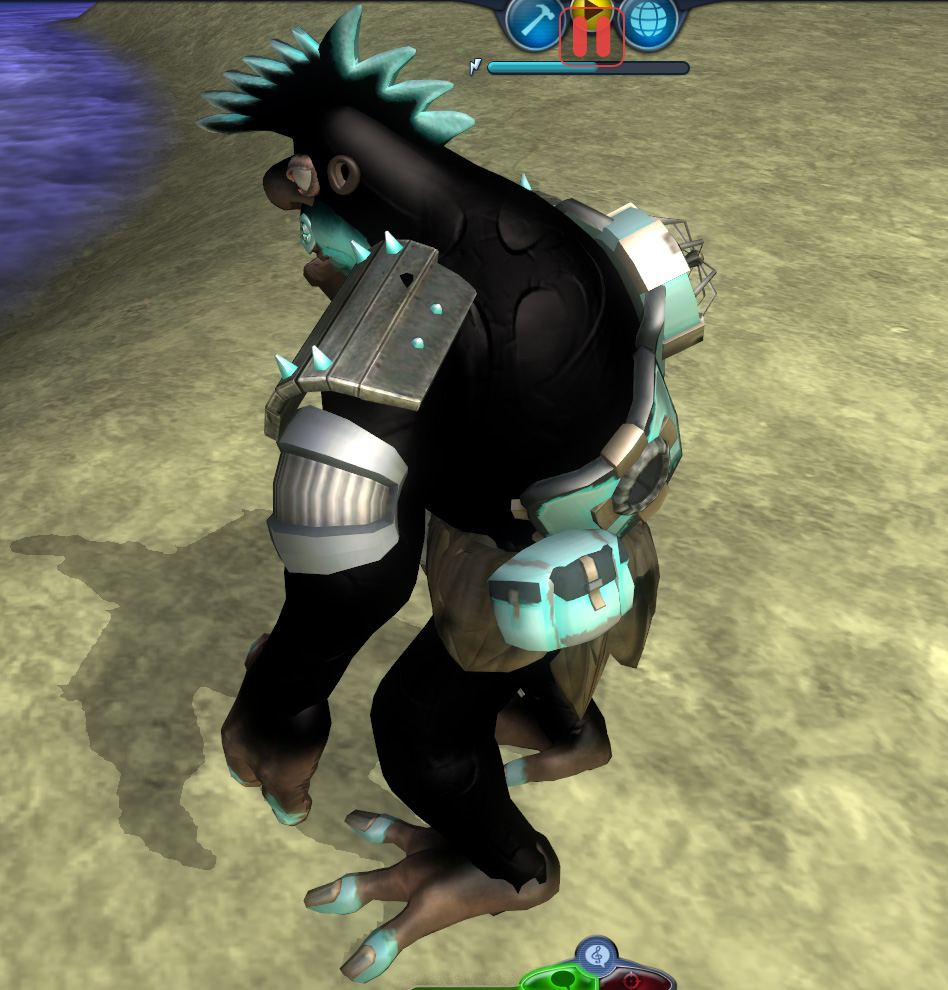
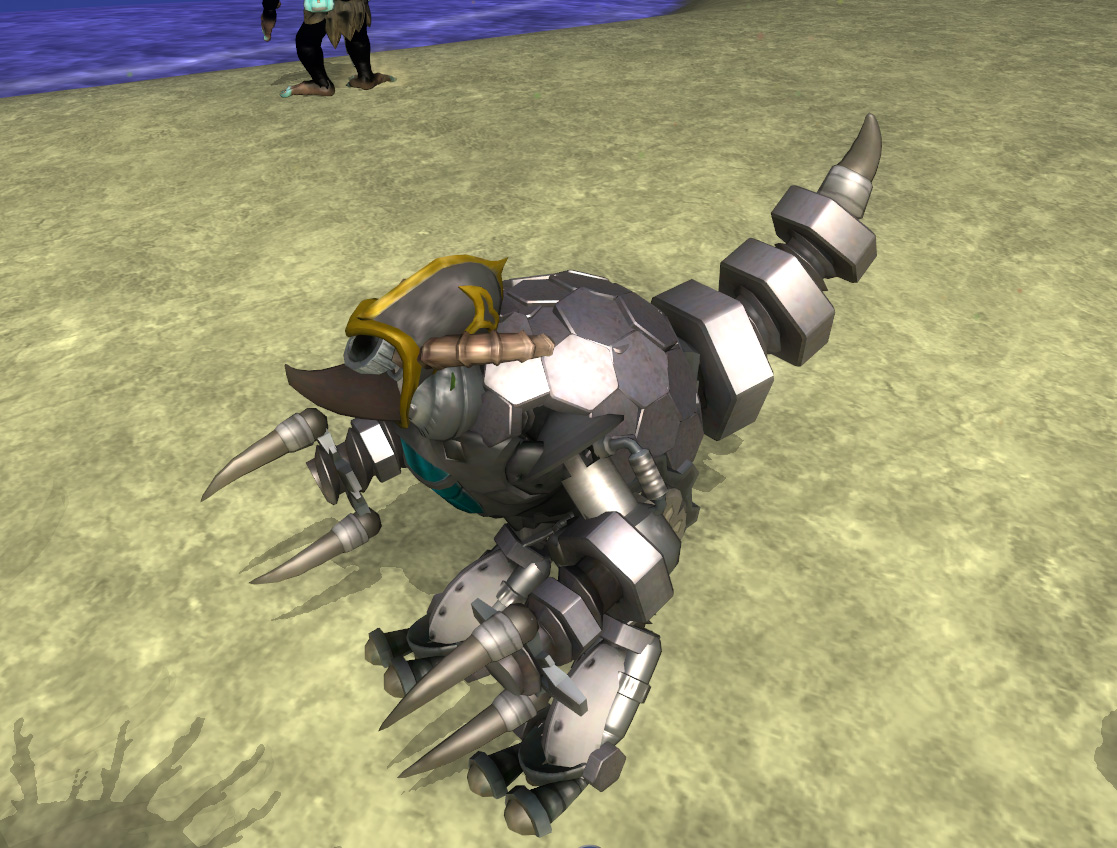
- Ejemplos de resultados:
PASO 0Preparando tu juego.
0.1 Saca TODOS los mods (si tenés) poniéndolos en alguna carpeta de backup. Más tarde los pondrás de vuelta, no te preocupes.
0.2 Ejecuta el juego (Spore Aventuras Galácticas). Andá a "Ajustes"->"Ajustes gráficos". Presiona el botón "Por defecto". Cambia el "Tamaño de pantalla" a tu resolución nativa. Presiona "Aceptar" (botón verde). Cierra Spore.
Paso 1Instalar configfix. (Créditos para K2017)
1.1 Descarga ConfigFix -
[Tienes que estar registrado y conectado para ver este vínculo]1.2 Encuentra las carpetas de configuración de Spore. (Por lo general es algo como C:/ProgramFiles/Electronic Arts/SPORE/Data/Config y C:/ProgramFiles/Electronic Arts/SPORE/SPORE_EP1/Data/Config )
1.3 Crear backups de los archivos llamados 'ConfigManager.txt'. (Hacer backups separados para SPORE y SPORE_EP1)
1.4 Poner la versión descargada de 'ConfigManager.txt' en AMBAS carpetas 'Config'.
1.5 Inicia el juego usando el ejecutable del Aventuras Galácticas.
1.6 Cambia todos tus ajustes a "Alta". Dejá el Tamaño de caché de gráficos en 2048. No cambia la calidad gráfica, solo los tiempos de carga. Más tamño de caché puede causar crashes. Cierra Spore.
PASO 2Instalar el mod HDTextureFix. (por Rob55Rod y Bahzur)
2.1 Descargar el mod. -
[Tienes que estar registrado y conectado para ver este vínculo]2.2 Moverlo a C:/ProgramFiles/Electronic Arts/SPORE/Data/
PASO 3 (para tarjetas de video NVIDIA)Optimizar el rendimiento en el Panel de Control de nVidia.
3.1 Click derecho en el escritorio, abrir Panel de Control de nVidia
3.2 Elegir "3D settings" luego "manage 3D settings" luego "Program settings"
3.3 Seleccionar un programa para personalizar - elegir Spore (sporeapp.exe) de lal lista
3.4 Especificar los siguientes ajustes abajo
Anisotropic Filtering - 16x
Antialiasing Mode - Override any application settings
Antialiasing Setting - 8x
Power management mode - Prefer maximum performance
Texture Filtering Anisotropic sample optimization - off
Texture Filtering Negative LOD bias - Clamp
Texture Filtering Quality - High Quality
Texture Filtering Trilinear optimization - on
Vertical Synch - Adaptive
Presiona el botón "Aplicar"
PASO 4Verificar texturas de vehículos y edificios
4.1 Ejecutar Spore Aventuras Galácticas
4.2 Abrir cualquier aventura con edificios y verificar su calidad de texturas. Si se ve como esto -
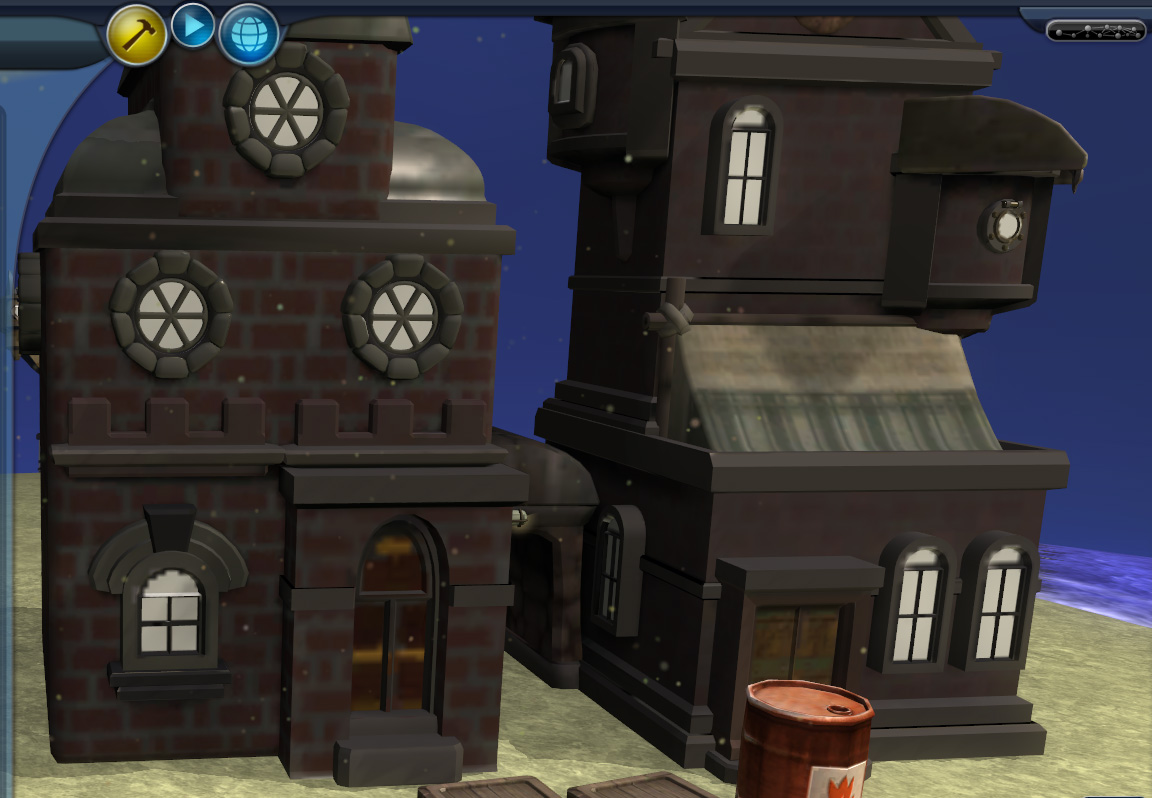
4.3 Presiona Ctrl+Shift+C para abrir la consola, escribe "highresTextureLevel high" y presiona Enter. La consola debería verse así ahora .

y las texturas de edificios y vehículos van a cambiar a las mejores versiones posibles. -
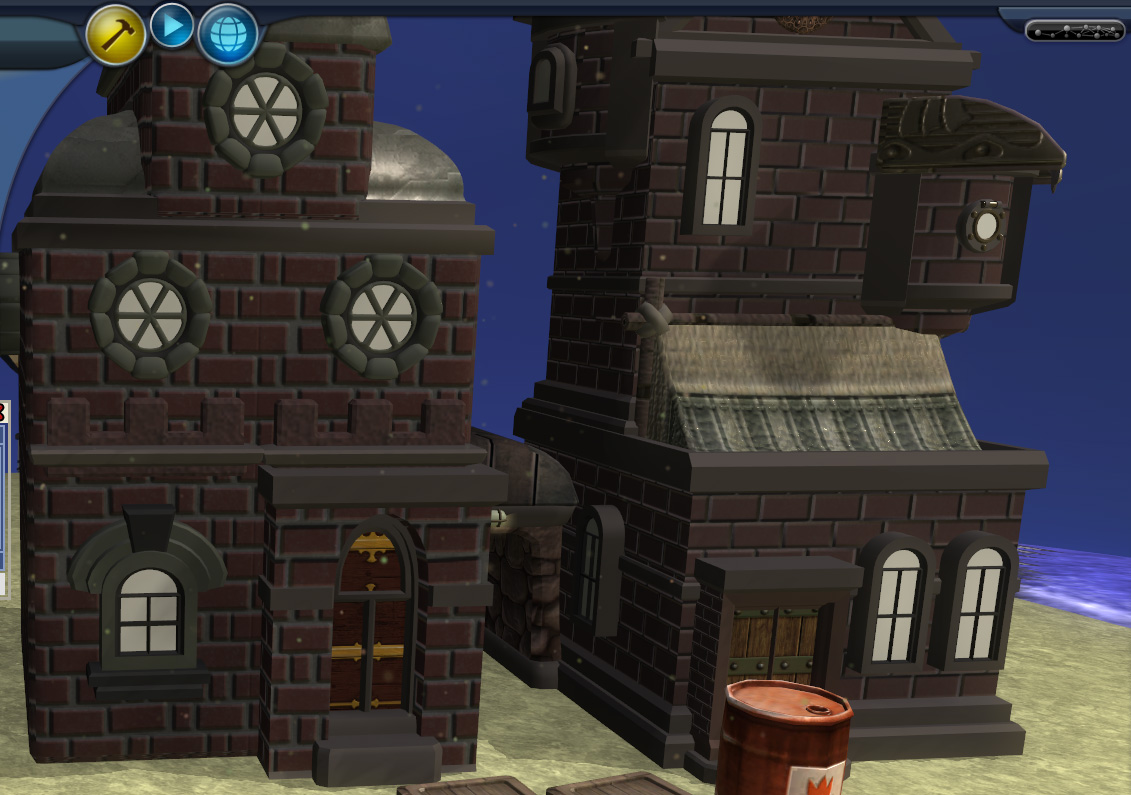
Este cheat debe ser ingresado cada vez que abras el Spore.
El juego está listo.
Disfruta tu Spore!

Todo fue testeado en numerosas aventuras y en el Estadio del espacio, los demás estadios deberían funcionar bien también. Añadir los mods con prudencia.
Problemas conocidos.A veces, después de cargar una nueva aventura o saltar desde editores al juego y viceversa, Nvidia "olvida" de activar sus mejoras (especialmente notable con el antialiasing). Supongo que pasa
debido a que el juego relanza su núcleo gráfico con demasiada frecuencia, también tener "núcleos" separados para editores y el juego mismo.
Simplemente sal del juego y vuélvelo a ejecutar. Las mejores de Nvidia se volverán a activar.
Las aventuras con cientos de objetos únicos van a tardar más en cargar.
Guarda seguido, porque el juego tiende a crashear de todos modos. Aunque es bastante posible tener sesiones de 2 horas con todos estos ajustes sin ningún crash. De todos modos es mejor guardar seguido por si acaso.
(Traducción por Wigazo)
English version (original)Forcing Spore graphics to modern standards.
Disclaimer.
This guide provides instructions on maximizing your Spore graphics by following few simple consecutive steps.
This information is not absolutely new, but so far there was a lack of comprehensive "all in one" guide.
The mod, used in this guide was developed by brilliant mod-maker Rob55Rod and modified further by Bahzur, so all thanks and credit should go to them. Thanks and credit should also go to Clicker95 whose initial discoveries have led to these results.
Basically in a few steps you'll force the game to use best textures with best shaders/bump-maps/reflections/texture filtering and antialiasing. It never looked better before. And it's quite stable.
All screenshots weren't resized, so it's actual pixels, actual in-game footage.
- Examples of results:
STEP 0Preparing your game
0.1 Remove ALL mods (if you have any) into backup folders. You'll return them later, don't worry.
0.2 Launch the game (Spore Galactic Adventures). Enter "settings"->"graphic settings". Press "Default" button. Change "Screen Size" to your native resolution. Press "Apply" (green button). Exit Spore.
STEP 1Installing configfix. (Credit goes to K2017)
1.1 Download ConfigFix -
[Tienes que estar registrado y conectado para ver este vínculo]1.2 Find your Spore config folders. (Usually its something like C:/ProgramFiles/Electronic Arts/SPORE/Data/Config and C:/ProgramFiles/Electronic Arts/SPORE/SPORE_EP1/Data/Config )
1.3 Make backups of files called 'ConfigManager.txt'. (Make separate backups for SPORE and SPORE_EP1)
1.4 Insert the downloaded version of 'ConfigManager.txt' into BOTH 'Config' folders.
1.5 Start the game using the GA launcher.
1.6 Change all your settings to "high". Leave Graphic Cache Size at 2048. It doesn't change graphics quality, only loading times. Bigger Cache often leads to crashes. Exit Spore.
STEP 2Installing HDTextureFix mod. (by Rob55Rod and Bahzur)
2.1 Download mod. -
[Tienes que estar registrado y conectado para ver este vínculo]2.2 Drop it into C:/ProgramFiles/Electronic Arts/SPORE/Data/
STEP 3 (for NVIDIA graphic cards)Optimizing Performance in nVidia Control Panel
3.1 Right-click on desktop, open Nvidia control panel
3.2 Choose "3D settings" then "manage 3D settings" then "Program settings"
3.3 Select a program to customize - choose Spore(sporeapp.exe) from the list
3.4 Specify following settings below
Anisotropic Filtering - 16x
Antialiasing Mode - Override any application settings
Antialiasing Setting - 8x
Power management mode - Prefer maximum performance
Texture Filtering Anisotropic sample optimization - off
Texture Filtering Negative LOD bias - Clamp
Texture Filtering Quality - High Quality
Texture Filtering Trilinear optimization - on
Vertical Synch - Adaptive
Press "apply" button
STEP 4Vehicles and buildings textures check
4.1 Launch Spore Galactic Adventures
4.2 Enter any adventure with buildings and check their texture quality. If it looks like this -

4.3 Press Ctrl+Shift+C the console will open, type in "highresTextureLevel high" press Enter. Console should look like this now .

and the textures of buildings and vehicles will change to best possible versions. -

This cheat should be entered every time you launch Spore.
The game is ready.
Enjoy your Spore!

Everything was tested on numerous adventures and in space stage, other stages should function fine as well. Add mods judiciously.
Known issues. Sometimes after loading new adventure or jumping from editors to game back and forth Nvidia "forgets" to activate its enchancements (especially noticable on antialiasing). I suppose it happens due to game relaunching its graphical core way too often, also having separate "cores" for editors and actual game.
Simply exit game and launch again. Nvidia enchancements will activate again.
Adventures with hundreds of unique objects will take longer to load.
Save often, because game has tendency to crash anyway. Though 2 hour sessions with all these adjustments and without any crashes are quite possible. But anyway its better to save often just in case.
 Hitskin.com

 1, 2
1, 2 Guía para mejorar los gráficos de Spore!
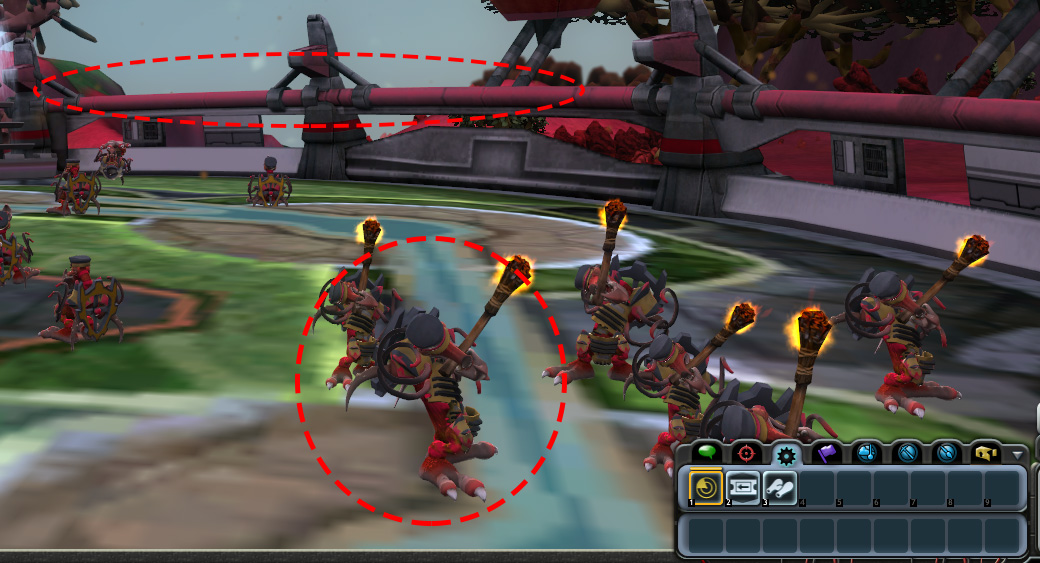

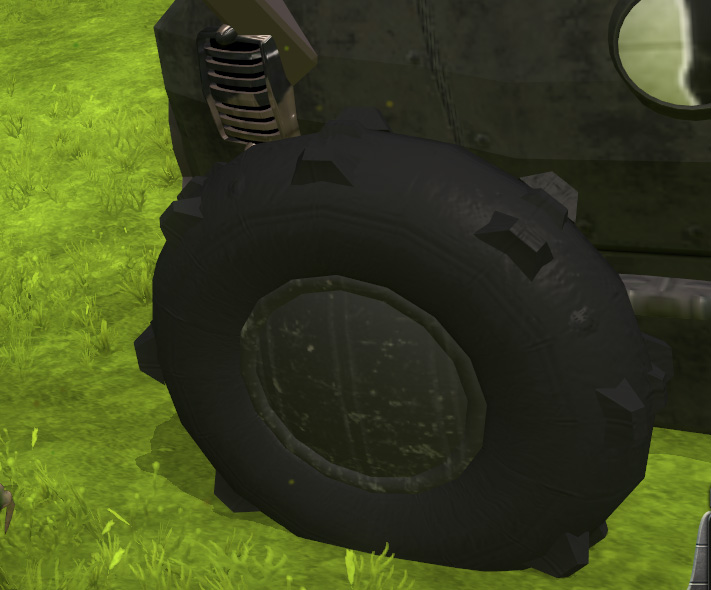

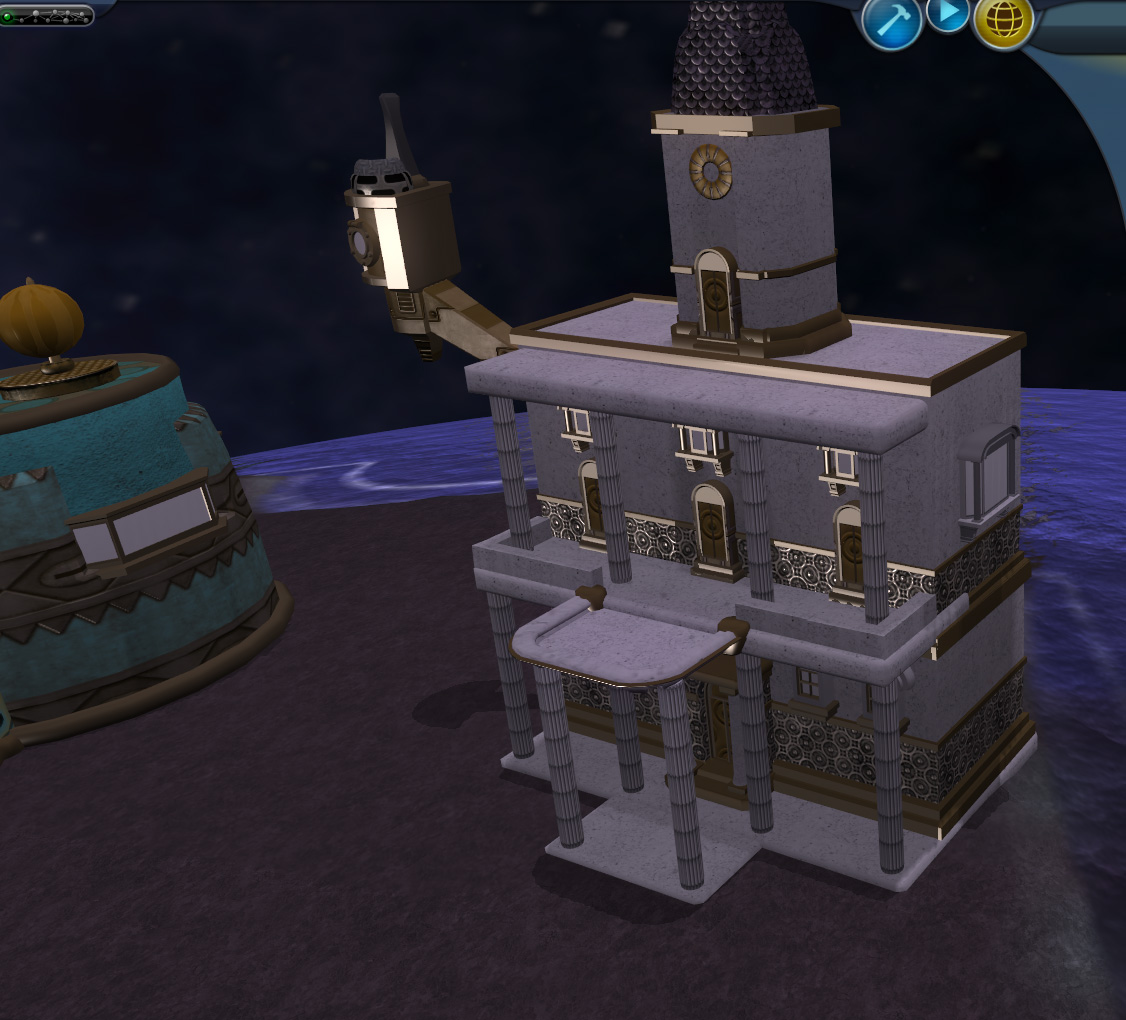
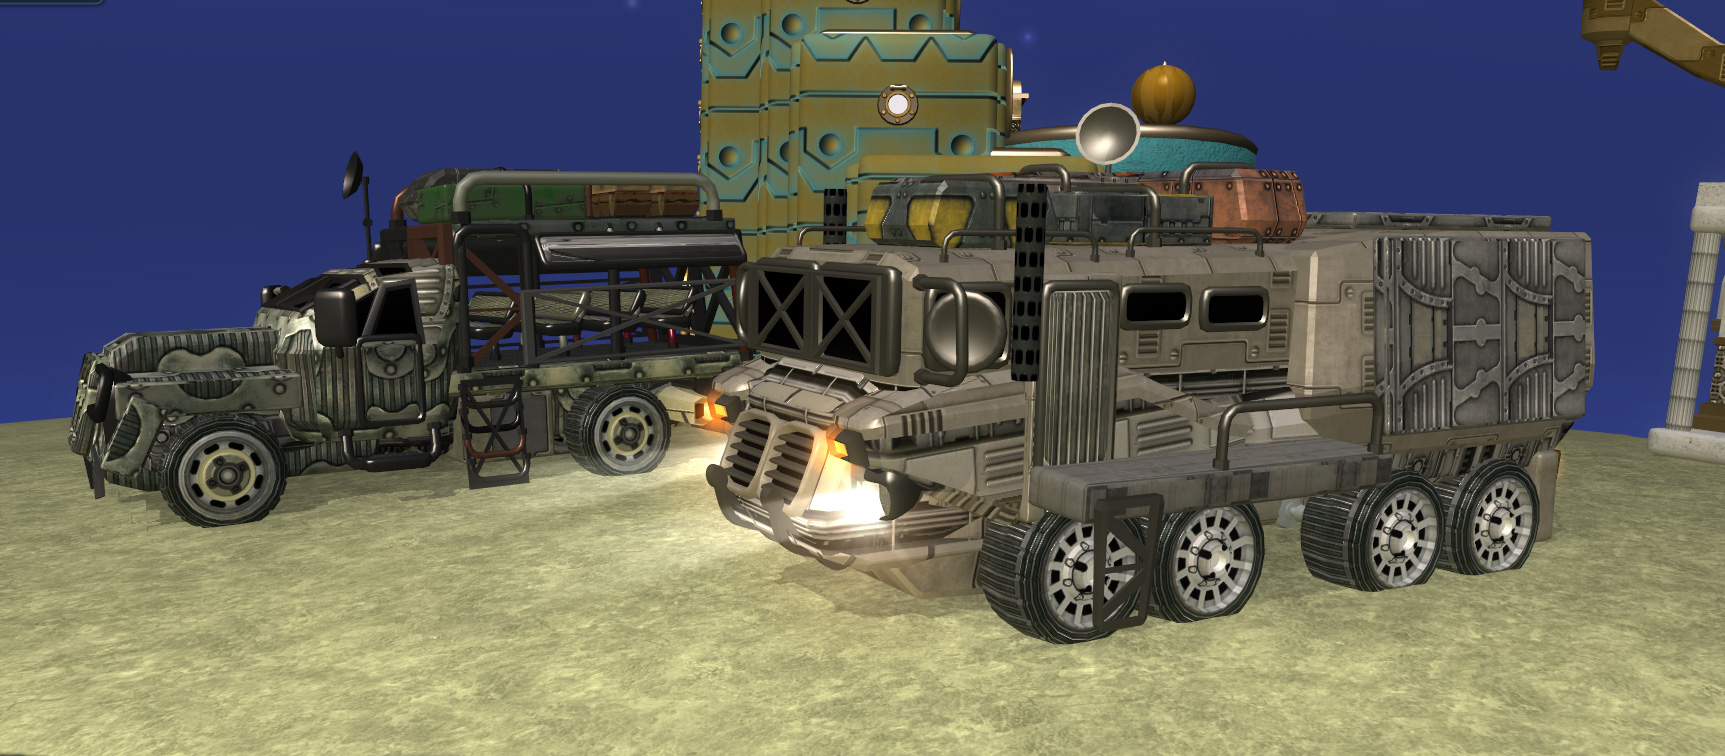

 y las texturas de edificios y vehículos van a cambiar a las mejores versiones posibles. -


 and the textures of buildings and vehicles will change to best possible versions. -


 Mensajes : 51


 Mensajes : 2631


 Re: Guía para mejorar los gráficos de Spore!
 Mensajes : 51


 Re: Guía para mejorar los gráficos de Spore!


 Mensajes : 2631


 Re: Guía para mejorar los gráficos de Spore!



 Mensajes : 3538


 Re: Guía para mejorar los gráficos de Spore!


 Mensajes : 458


 Re: Guía para mejorar los gráficos de Spore!
 Re: Guía para mejorar los gráficos de Spore!



 Mensajes : 736


 Re: Guía para mejorar los gráficos de Spore!


 Mensajes : 178

 Re: Guía para mejorar los gráficos de Spore!
 Mensajes : 4
 Re: Guía para mejorar los gráficos de Spore!
 Re: Guía para mejorar los gráficos de Spore!
 . Ese error de texturas para sobre todo en criaturas complejas. Supongo que cuanto más elementos menos espacios en las UVs. En cuanto tenga todo listo pasaré capturas personalmente, si no, es que me he rendido
  .
.


 Mensajes : 1686


 1, 2
1, 2 Temas similares
» Experimento Scarver-T [Virus-T]
» Caballo [3lite vs. Xhaps] [2]
» Esidisi's Tower [O4] [E]
» ¿Que música están escuchando?
» Hola
» Problema con los pies de DI y otros mods
» Las partes robóticas en mi spore no funcionan bien
» ¿Cómo recuperar una criatura borrada?
» Una decada despues!
» Prototipo Zangief [O3]
» El traveler barato de Owari [TA] [Mx3]
» Golem Guardian [DoT][21] (Golem)
» Rise of Cults 2 Bot (Beta abierta)
» Nueva Ciudad Sporepedia 2024 (Historia por partes)
» Los experimentos del Dr. Breincrox, parte 2
» TEMA FLOOD
» nuevo juego
» L-14 [O3] [A]
» Pide un deseo y arruina al de arriba 2º Parte
» Mataría al de arriba porque.... 2º Parte
» Extensión de Chrome: Sporepedia Downloader [1.2]
» Cambios de Nick